Foundation
Process of creating a Photograph
- Exposure. Place your subject(s) into the path of exposure from a strong light source backed onto photographic paper. This will create a print onto the paper that will eventually reflect the subject.
- Developer. Place your photographic paper into a shallow bath of Developer fluid. Gently rock it back and fourth for precisely two minutes and watch the positive picture appear onto the paper.
- Stop. Remove the Paper from the developer, riding it of any excess chemical droplets and place it into a bath of Stop. Leave it for approximately one minute until the reaction of the developer has ceased completely.
- Fix. Place the photographic paper into a third and final bath of Fixer and leave it for approximately four minutes. This will seal the photograph and prevent discolouration.
- Wash and Dry. Place the Photographic paper into a sink with running water to rid it of all of all of the developer, stop, and fix fluids. After a few minutes, remove and dry.
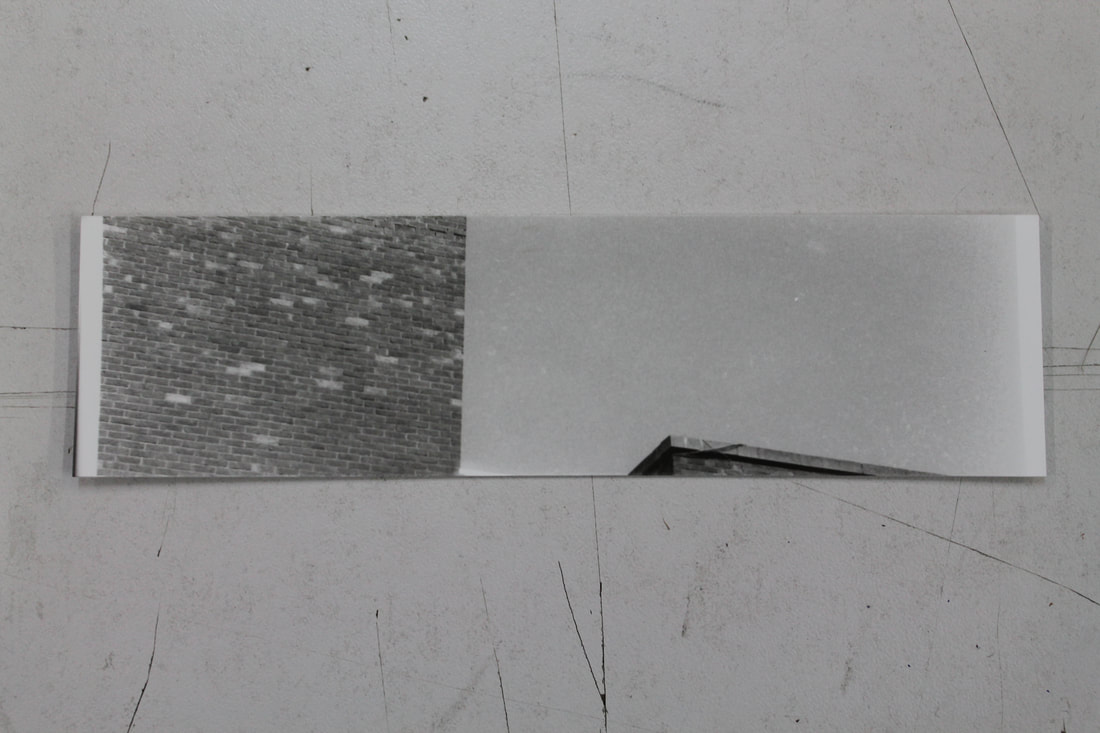
Photogram Project
|
During the beginning of the course, I experimented with creating a photogram by exposing photographic paper to light while objects were placed onto it.
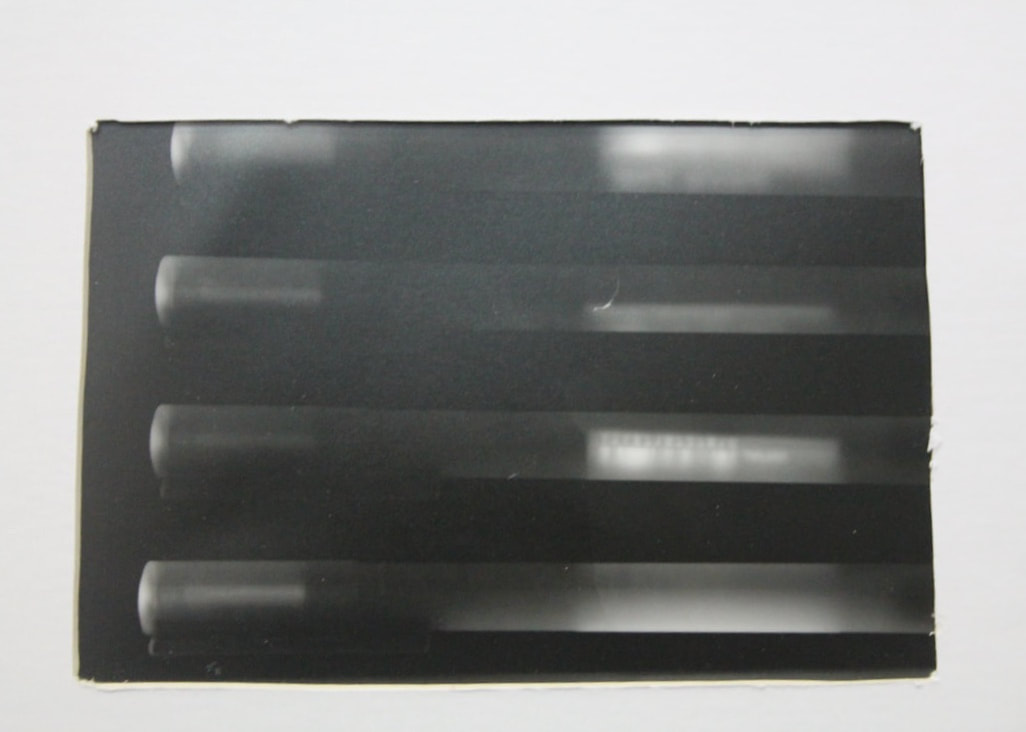
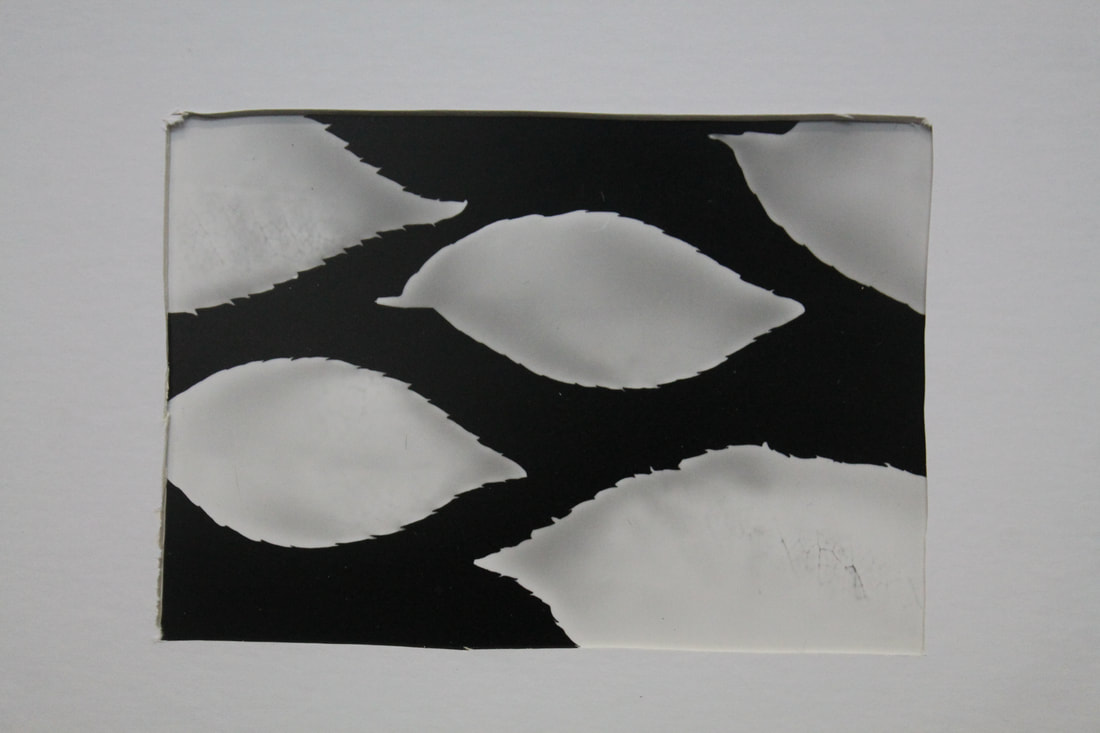
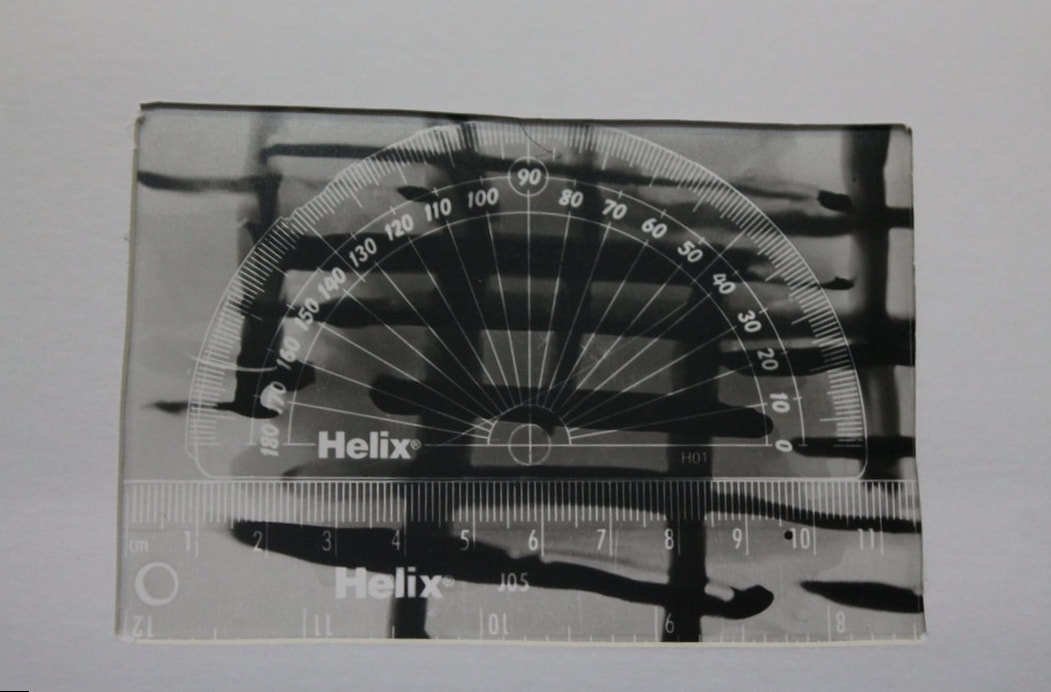
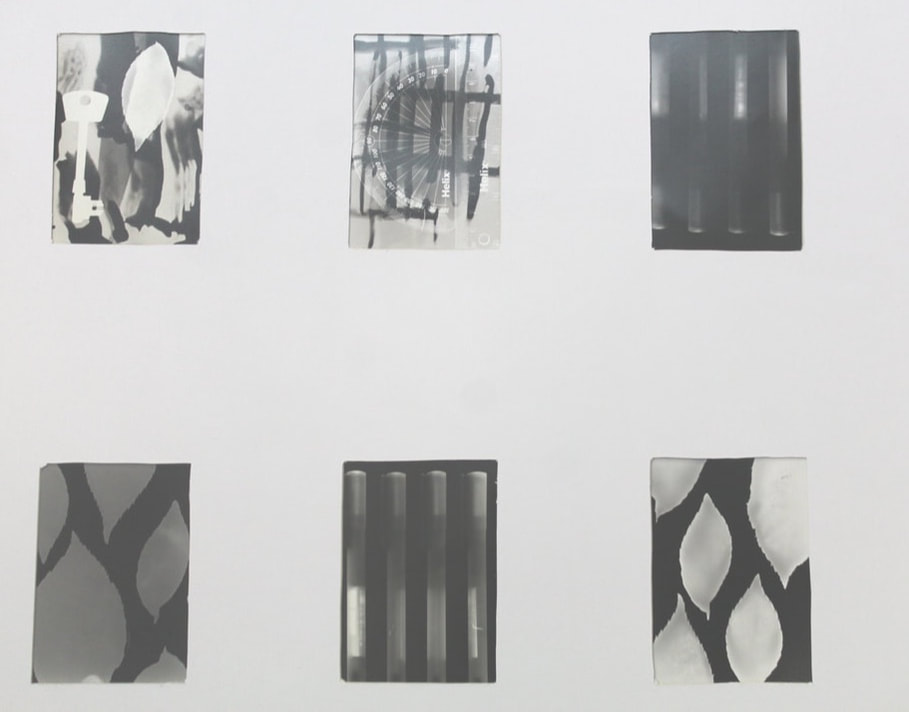
This is how my project took place. -set enlarger aperture to F11 -Set timer to 03 seconds -placed the focus and roll in position with the photographic paper -used a test strip of 3,6 & 9 seconds - Bathed the paper in developer, fix and sealer and then a bath of water -dried the result was that the side which was left for the least exposure (nine seconds) was cleaner and crisper, however the side left exposed to the most exposure (3 seconds) was dark and shallow. With my results in mind, I redid my photogram at an exposure of 9 seconds, giving the entire picture a crisp and clean feel. My plan for my next project is to choose 6 different ideas for a photogram and execute it in the dark room. Idea 1: Create an x-ray like image using see-through pens. giving a linear and orthographic appearance. Idea 2: Draw on my photographic paper using a regular pen, giving an abstract photogram |
|
|
|
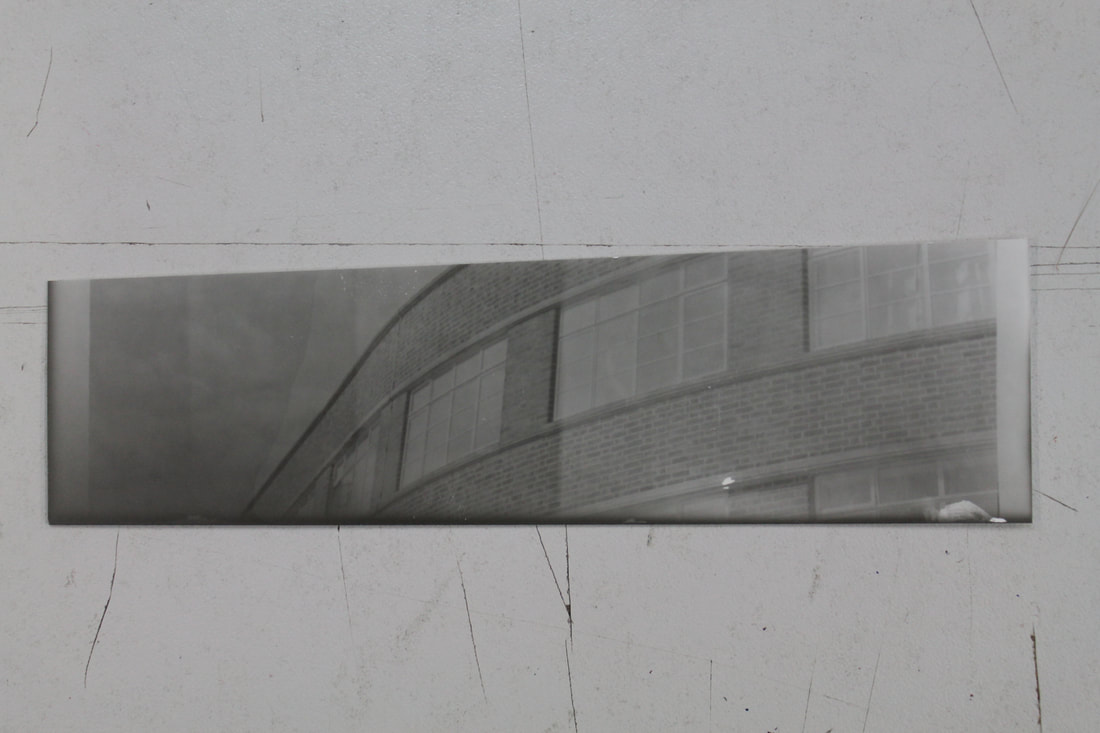
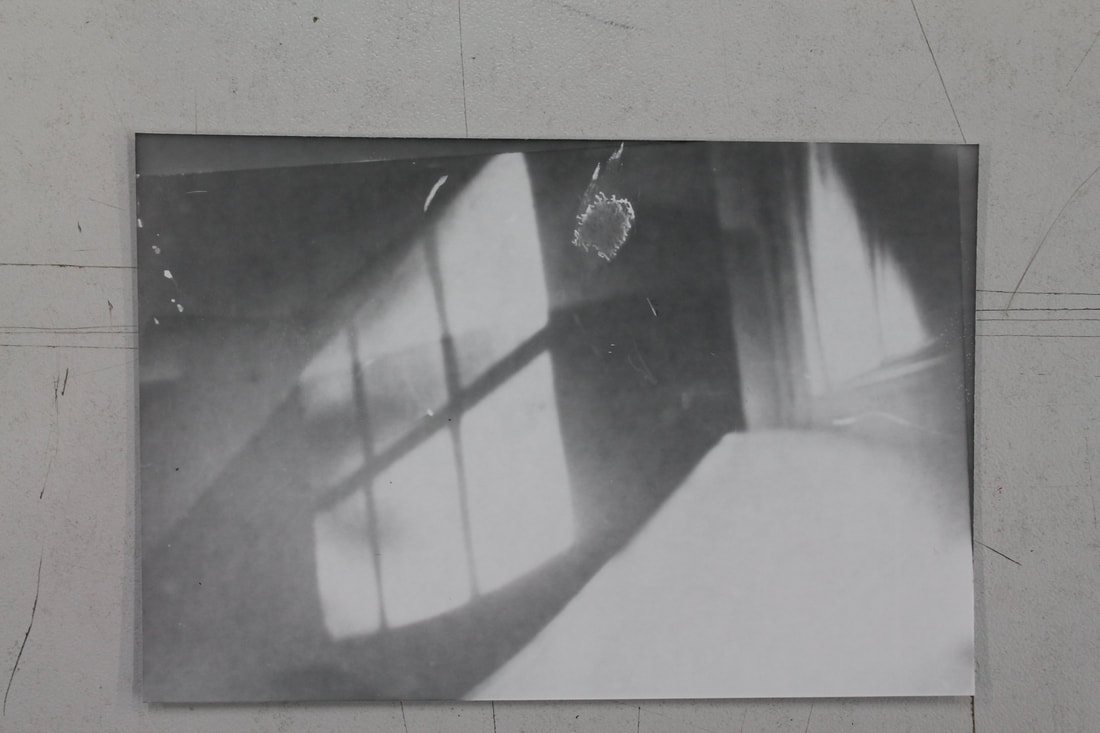
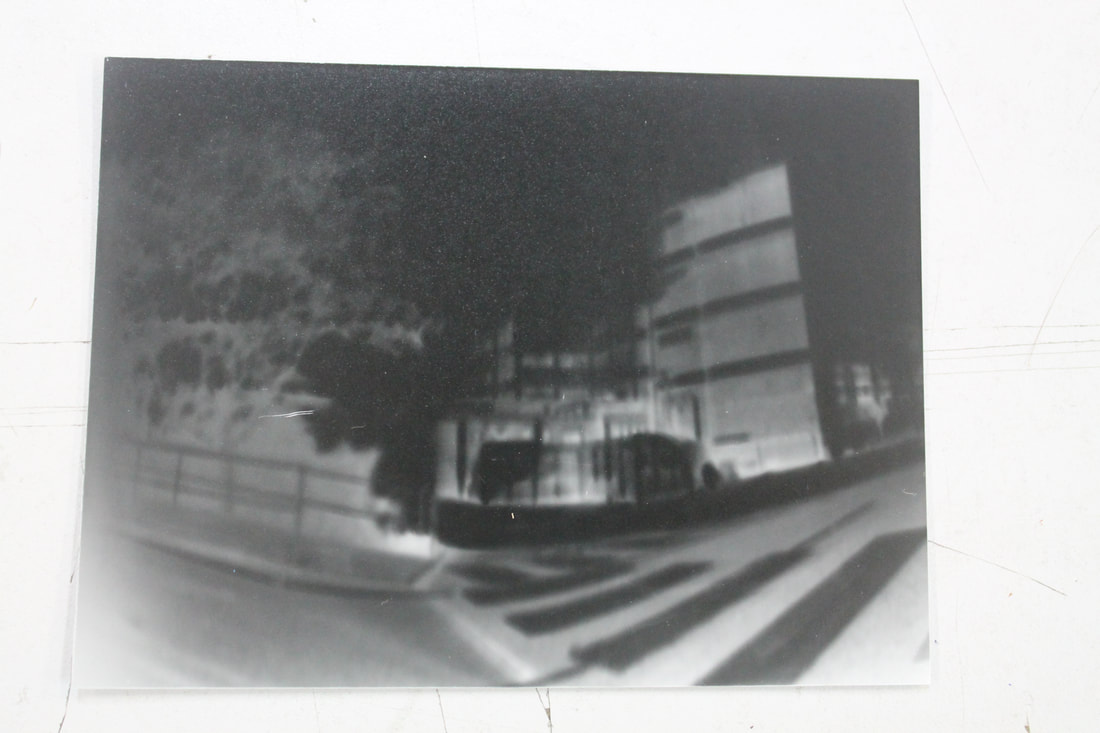
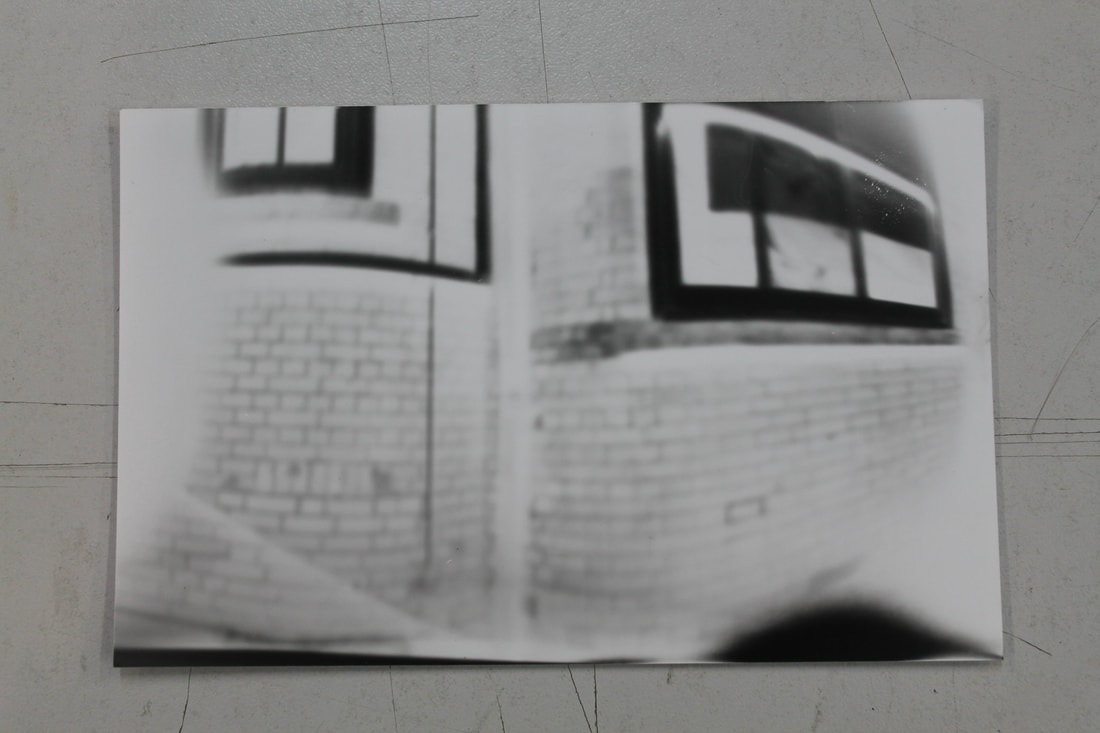
Enlargement Process
1) Select a section of a role of film with the negative wished to be enlarged
2) Place the film into the enlarger by extracting the slot, make sure it is facing backwards and shiny side up, before reinserting it
3) Then switch the enlarger light on and watch the image appear in front of you
4) Adjust the focus, hight and aperture of the enlarger to fit the style of your desired enlargement
5) Use a test strip to define how long of an exposure the picture needs
6) Once worked out, use a full sized piece of photographic paper to enlarge your print
|
|
|
Screen-Printing
|
How to screen print a photograph 1)Print your ideal image in black and white on an a4/a5 sheet of paper. 2)using coloured oil, spread generously across a plastic base using a solid roller. 3)place the plain side of the paper into the oil and roll once more. 4)Remove from plastic and place onto a larger sheet of paper, then re- removing 5) Repeat this until oil cannot be found when the picture is placed on the paper. 6)Tape the picture loosely onto a fresh a4 sheet 7)Using a pen and ruler, retrace the steps of the key features of the photograph. 8)Wait for drying |
